How to create Dymo Address Labels with Images
(updated 2/18/2020)
Dymo Address Labels don't have to be boring. You don't just have to print the address on your labels. You can add graphics to add a theme and make your Address labels look a whole lot more fun.
With a Dymo LabelWriter you can print all kinds of labels, from Address labels to Shipping labels, from Name Badges to Appointment Cards, and even CD/DVD labels and Jewelry labels. With Dymo's free DLS software, creating your labels is a breeze. You can print basic text or add barcodes, shapes and borders or clip art graphics. And once you've created your template, you can save it for future use.
To create an Address labels with a graphic, follow these steps:
- Start with a basic Address label template (note we use the Dymo Standard Addres Label 30252 / 120350 size)
- Click the 'Insert' tab to get yourself in Edit mode.
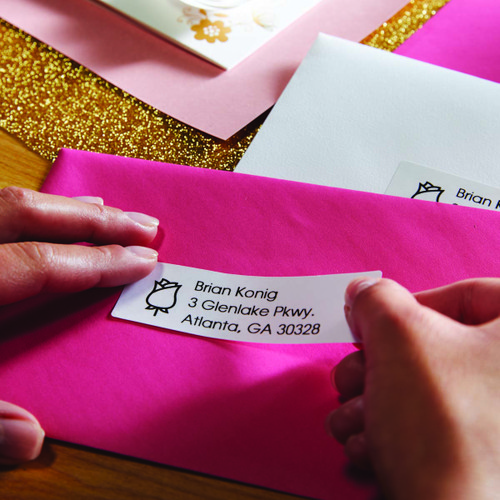
- Drag the Address object onto the label and resize it so there's some room to the left for your graphic (as depicted in the image on this page)
- Drag the Image object onto your label, and select 'File' as the image source.
- Choose an image from the Clipart library and then resize it to suit
- Once you're happy with the layout of your template, go back to your Address Book and select an address to print or create a new contact.
It's really that simple, and once you've created a few templates you'll naturally become more and more creative with your layouts.
Labelcity stock Dymo LabelWriter printers and the entire range of Dymo LabelWriter labels in our East and West Coast warehouses.
Dymo Address Labels don't have to be boring. You don't just have to print the address on your labels. You can add graphics to add a theme and make your Address labels look a whole lot more fun.
With a Dymo LabelWriter you can print all kinds of labels, from Address labels to Shipping labels, from Name Badges to Appointment Cards, and even CD/DVD labels and Jewelry labels. With Dymo's free DLS software, creating your labels is a breeze. You can print basic text or add barcodes, shapes and borders or clip art graphics. And once you've created your template, you can save it for future use.
To create an Address labels with a graphic, follow these steps:
- Start with a basic Address label template (note we use the Dymo Standard Addres Label 30252 / 120350 size)
- Click the 'Insert' tab to get yourself in Edit mode.
- Drag the Address object onto the label and resize it so there's some room to the left for your graphic (as depicted in the image on this page)
- Drag the Image object onto your label, and select 'File' as the image source.
- Choose an image from the Clipart library and then resize it to suit
- Once you're happy with the layout of your template, go back to your Address Book and select an address to print or create a new contact.
It's really that simple, and once you've created a few templates you'll naturally become more and more creative with your layouts.
Labelcity stock Dymo LabelWriter printers and the entire range of Dymo LabelWriter labels in our East and West Coast warehouses.